How to Install Node.js on Ubuntu – Node Linux Installation Guide

If you are a web developer working on the frontend or the backend, you'll want to have Node.js installed on your system. But if you use the typical sudo apt install nodejs command, it may install a very old version of Node which can be troublesome fo
But if you use the typicalsudo apt install nodejs command, it may install a very old version of Node which can be troublesome for you.
So you'll want to install a specific version, which requires a different command. This will install the LTS (Long-Term Support) version of Node which is useful for devs because it has a longer period for support.
Today, I am going to show you how you can install the latest LTS version of Node on your Ubuntu operating system.
This processes will work on any kind of Debian-based Linux operating system (Ubuntu, Mint, Zorin, Debian, Elementary OS, and so on). It'll work whether you are using that as your main operating system, secondary operating system on dual boot, WSL on Windows, or using in a virtual machine (VMware Workstation, VirtualBox, and so on).
At the time of writing this article, the latest LTS version for Node is 18.18.2.
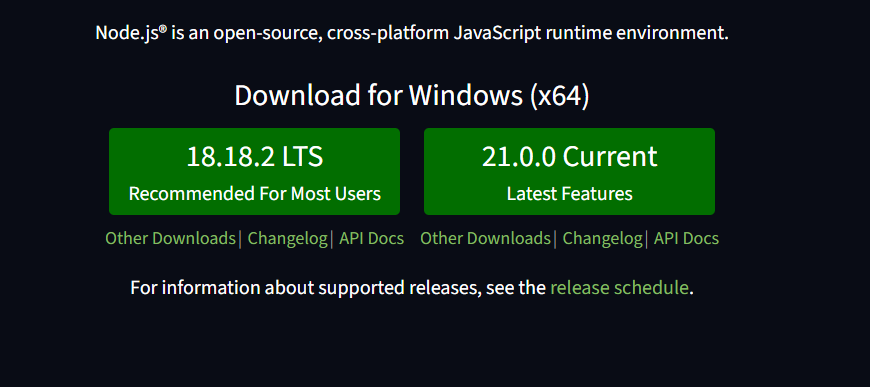
Node download page showing current LTS version
When you install Node following the instructions in this article, it will install the latest LTS version of Nodejs automatically. So you'll be safe without any hassle if you simply follow this article and the accompanying video.
Update Your Operating System
First, you'll want to ensure that you have installed all the updates beforehand. I like to work in the terminal mostly, so I'll install the updates using the terminal directly.
For updating to the latest versions of all the relevant packages, usesudo apt updatein the terminal. Use your password when it asks for that.
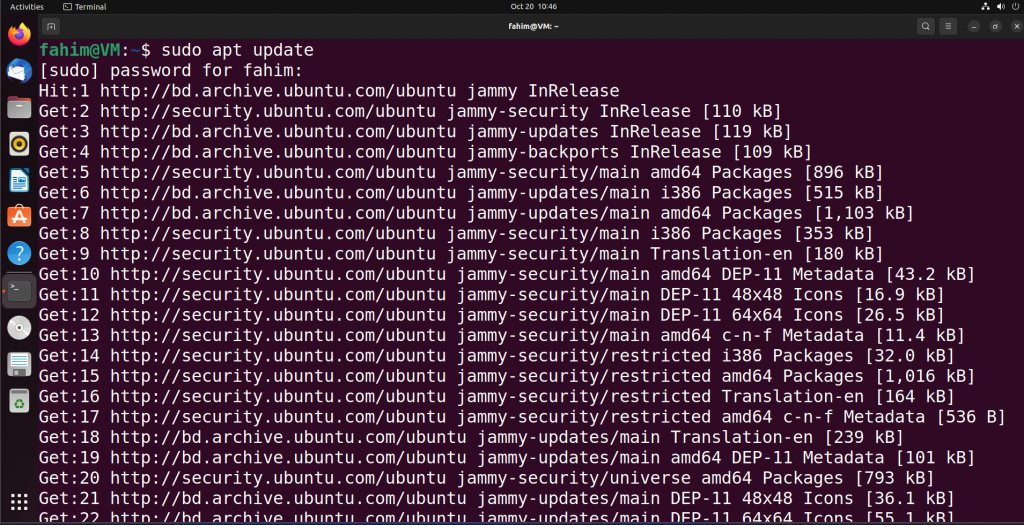
Updating all relevant packages
Now usesudo apt upgrade -yto upgrade all the upgradable packages.
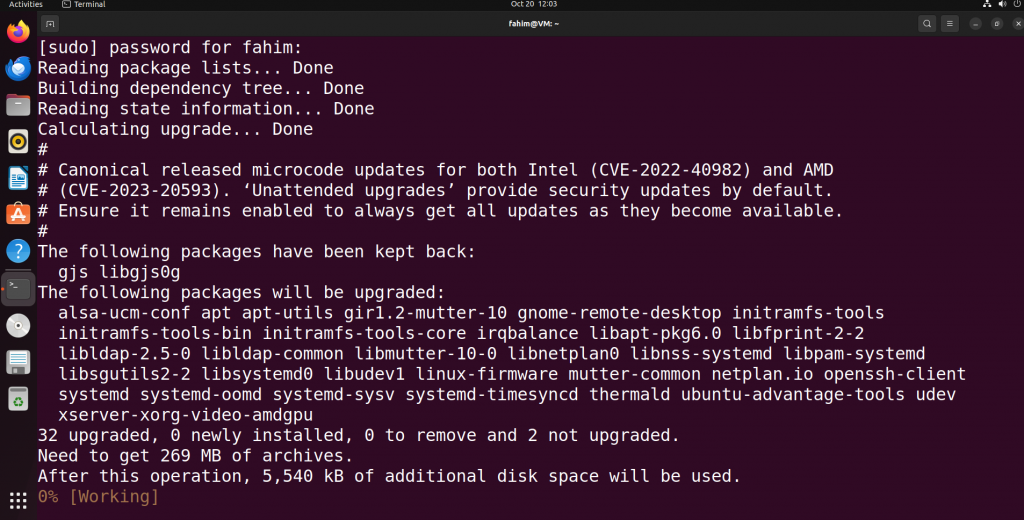
Upgrading all relevant packages
Install CURL
We're using theNode Version Manager (NVM)here to install Node. There are various advantages when we install Node and npm using the NVM as it also allows us to manage multiple versions of Node.js on our system altogether.
First, you'll need to installcurlif it's not installed on your system already. You can install curl by using the command below:
sudo apt install curl -y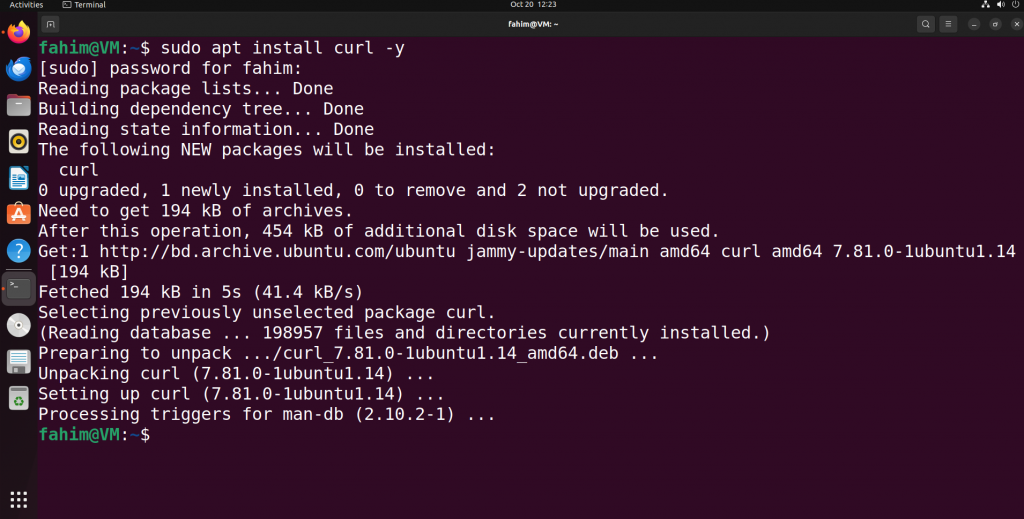
Installing CURL
How to Install Node.js
Now you'll need to follow these steps in order to ensure that you've installed Node.js successfully on your system.
Install Node Version Manager (NVM)
Install the Node Version Manager (NVM) by using the following command:
curl -o- https://raw.githubusercontent.com/nvm-sh/nvm/v0.39.0/install.sh | bash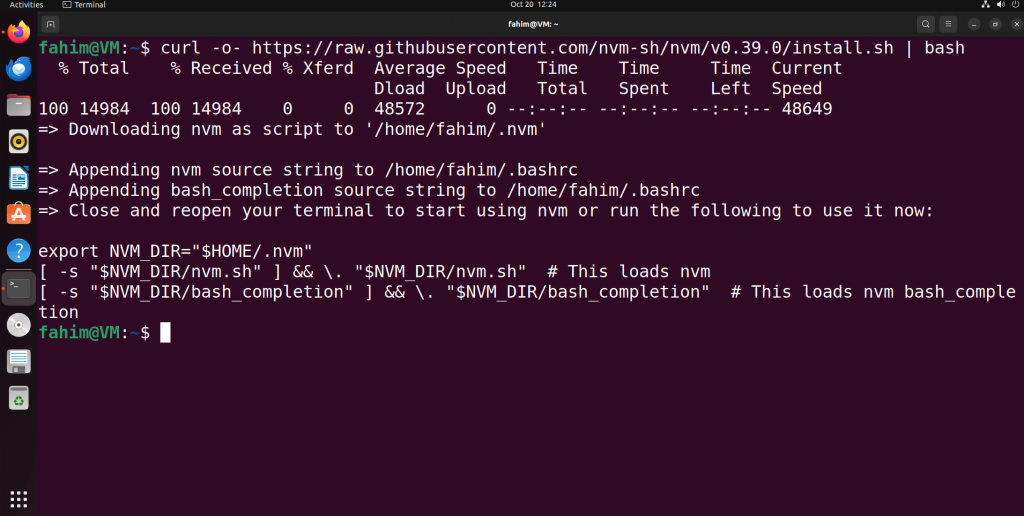
Installing the Node Version Manager (NVM)
When you run this specific command, the curl downloads the NVM installation script from that specific URL. Afterward, bash executes the same script for installing NVM.
Activate NVM
Activate the NVM using the command below:
source ~/.bashrc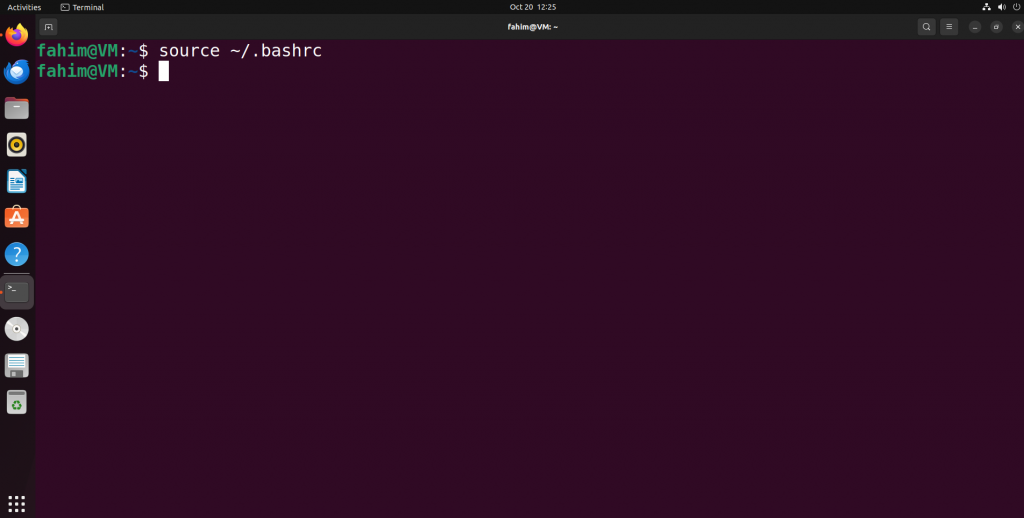
Activating the Node Version Manager (NVM)
Install the latest LTS version of Node
Install the latest Long Term Support version of Node by using the command below:
nvm install --lts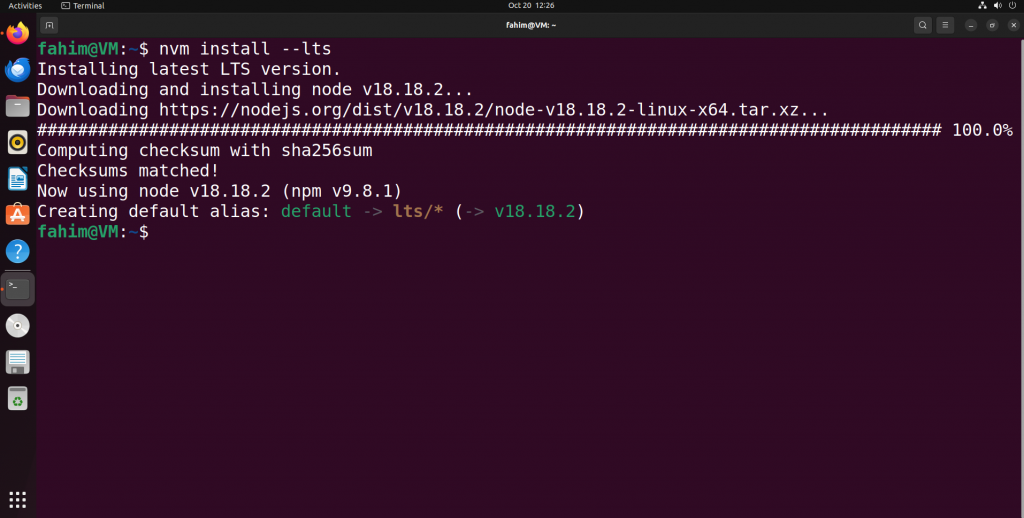
Command for installing the latest LTS version of Node.js
It installs the latest version of the LTS release of Node by default.
Make the default LTS version as NVM
We have installed the latest LTS version of Node, but we also need to set the default version of NVM so that it gets used by default whenever we need it. You can use the command below to do that. Make sure to change the version to the exact LTS version you have installed on your system just now.
nvm alias default 18.18.2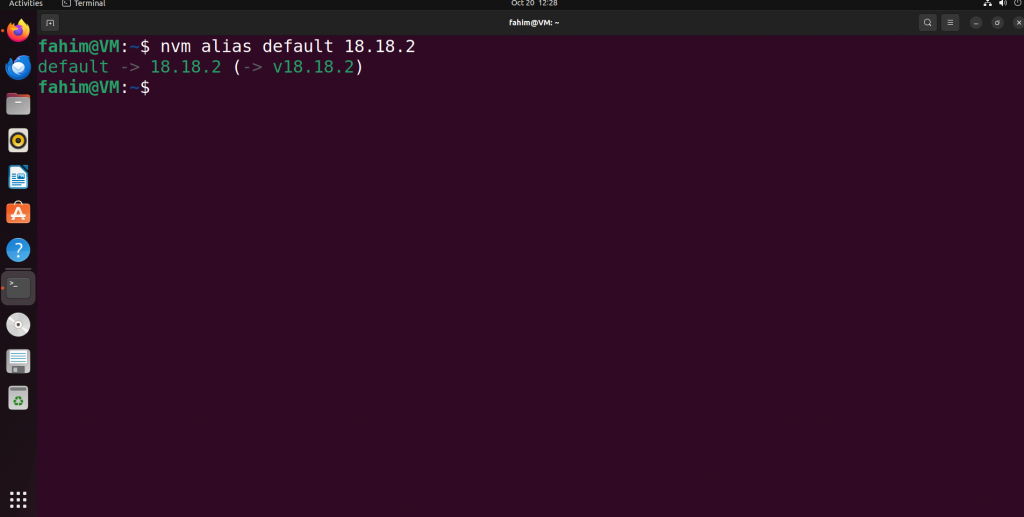
Selecting the appropriate Node version as the default version
If your LTS version is something like24.1.2then the command would be like below:
nvm alias default 24.1.2Confirm that Node was installed
Use the command below to check whether the default version is the exact version you just installed:
node -v npm -v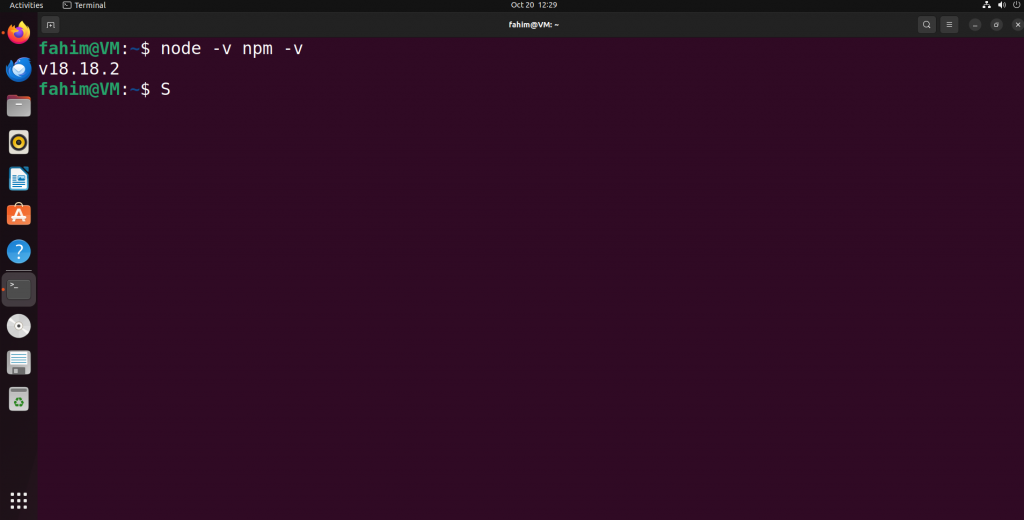
Showing the current version of Node installed
How to Set Up the Node.js Environment
After installing Node and NPM, you need to set up the Node environment by creating a new Node project.
Use the command below to create a new directory/folder where you want to test a simple "Hello World" type Node project.
mkdir my-node-project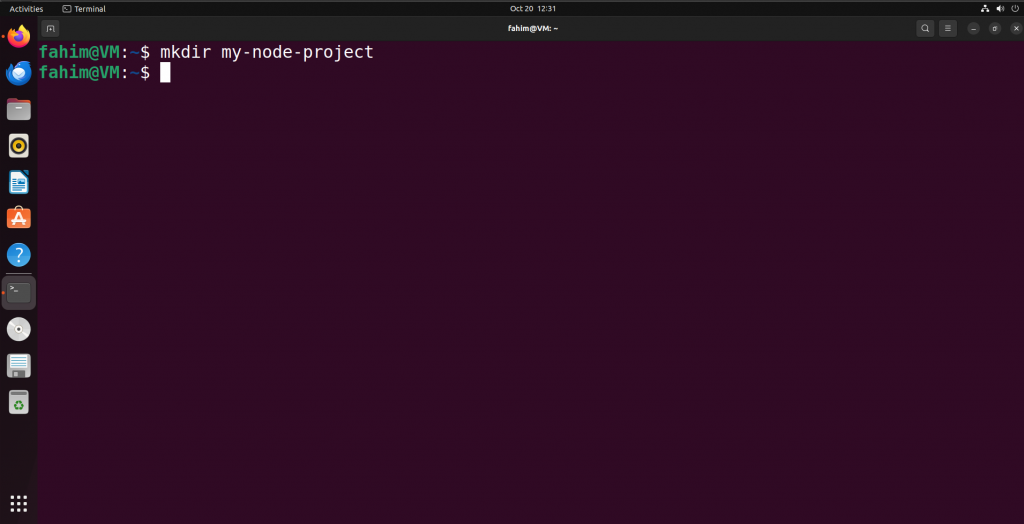
Creating a new directory/folder to test a simple "Hello World" program on Node
Navigate to themy-node-projectdirectory by using the command below:
cd my-node-project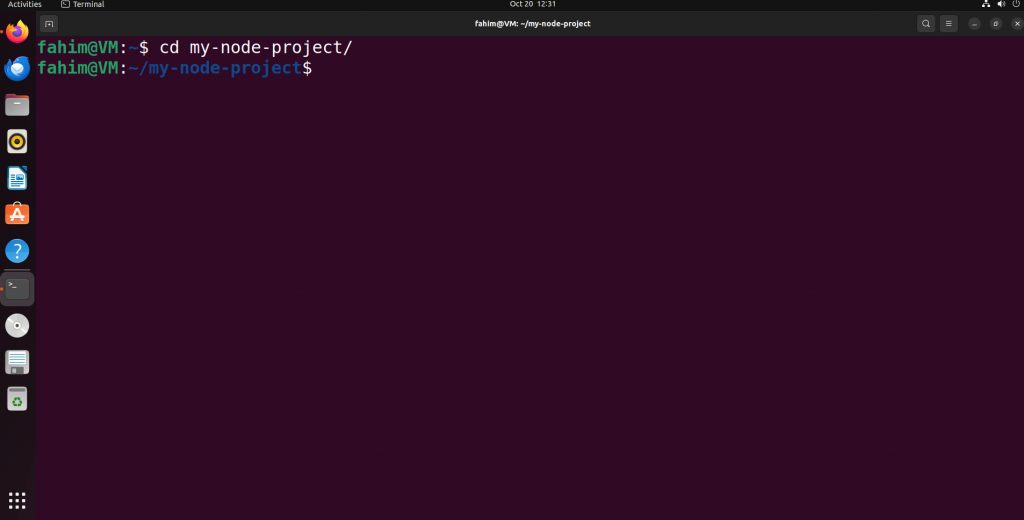
Changing the directory to enter into that newly created directory/folder
Initialize the new Node project like this:
npm init -yThis command will create a "package.json" file containing your project's metadata and dependencies. Here is the JSON output:
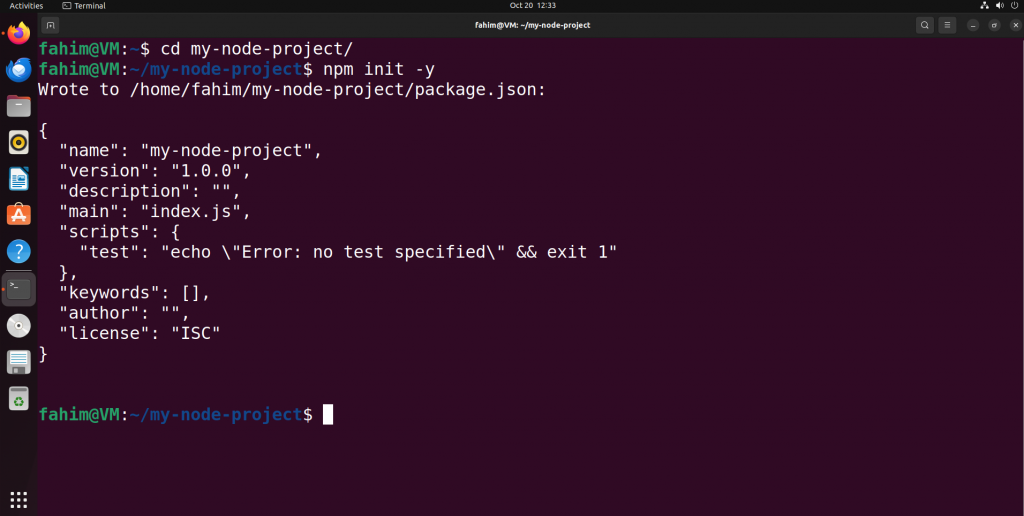
Initializing npm in the folder
The JSON output is below:
{
 "name": "my-node-project",
 "version": "1.0.0",
 "description": "",
 "main": "index.js",
 "scripts": {
 "test": "echo \"Error: no test specified\" && exit 1"
 },
 "keywords": [],
 "author": "",
 "license": "ISC"
}
Now run the setup with the simple command. For this, I am going to create a new file calledapp.jsusing the nano text editor in the terminal.
sudo nano app.js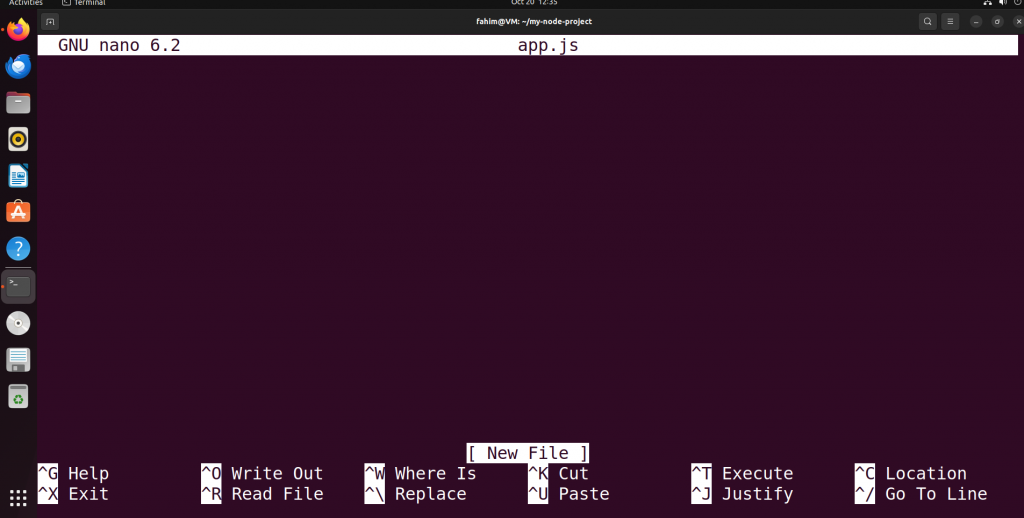
Opening app.js file in nano
Once the text editor opens, type the below code:
console.log("Hello, Node.js from Ubuntu!");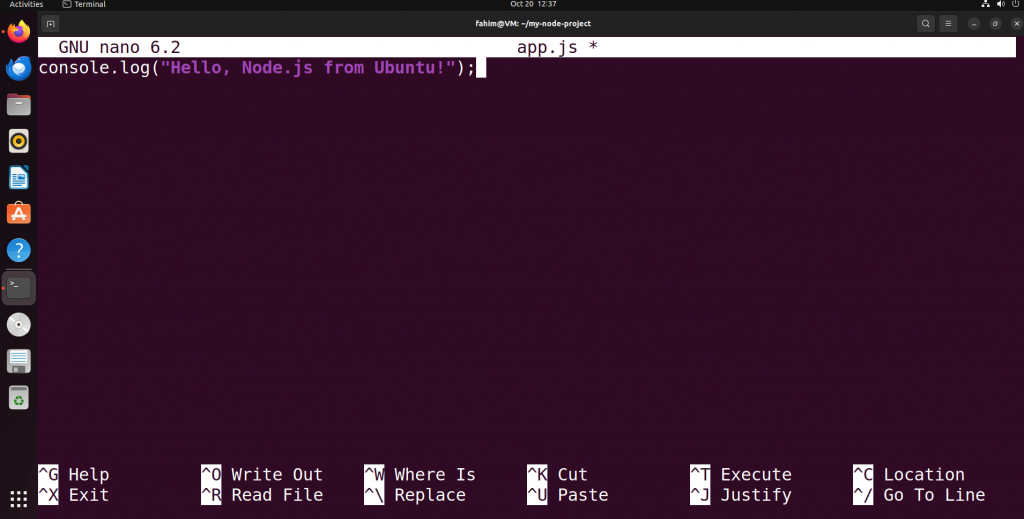
Writing a simple console.log code in the app.js file using nano
Use Ctrl+O to save the file. UseEnterto save the file asapp.js:
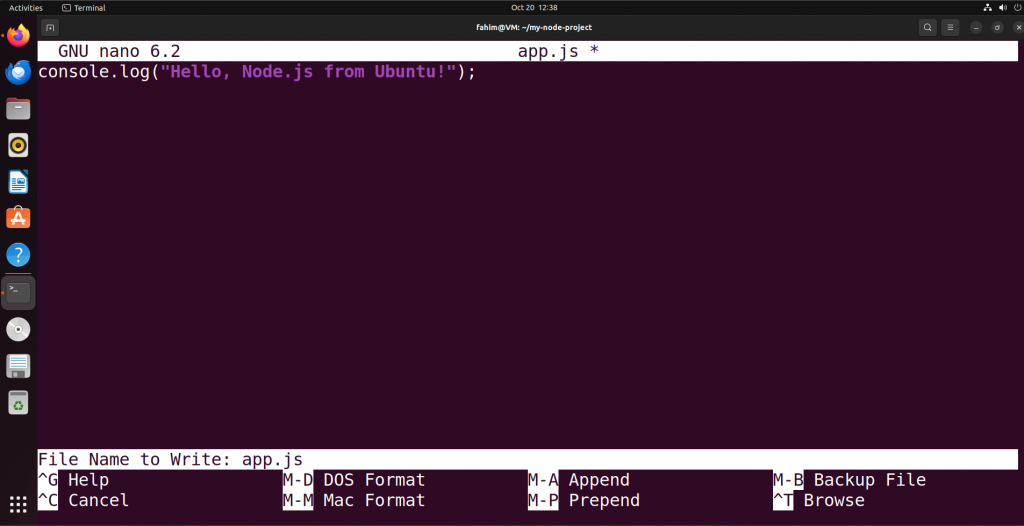
Save the app.js file with the newly added line of code
Use Ctrl+X to return to the bash terminal again.
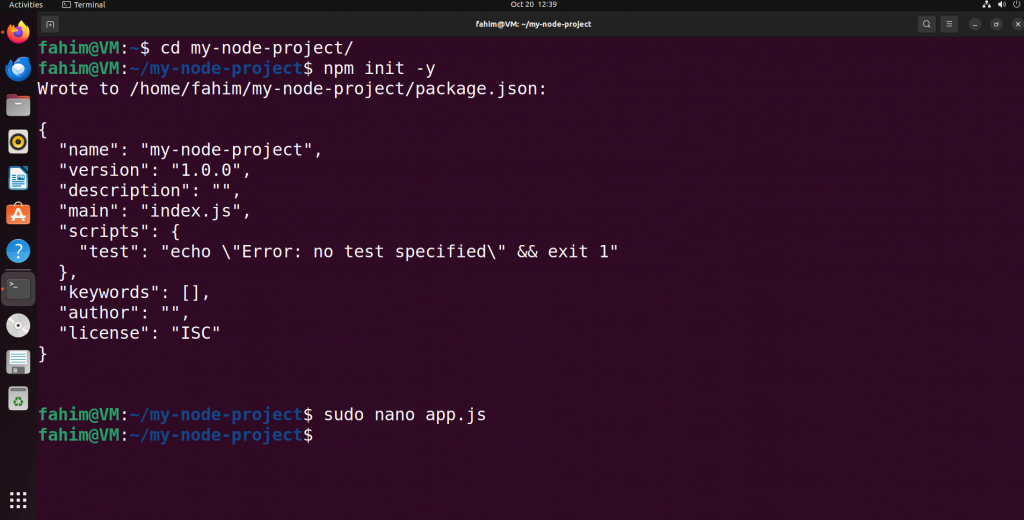
Returning to the terminal again
Now, it is time to check the output and see whether it's working or not.
Use the command below:
node app.js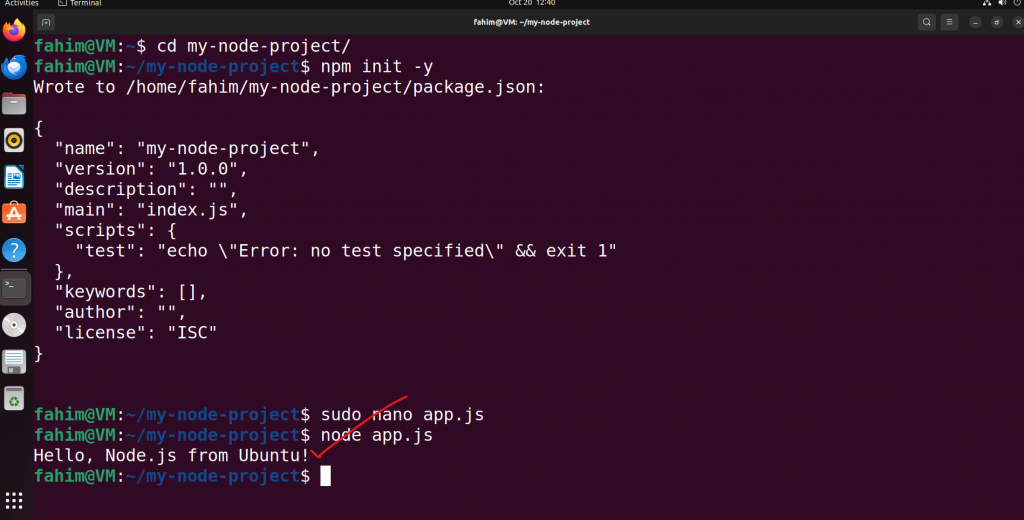
Running the app.js file using Node
We have successfully installed the latest LTS release of Node on our Ubuntu/Debian-based Linux operating system.

